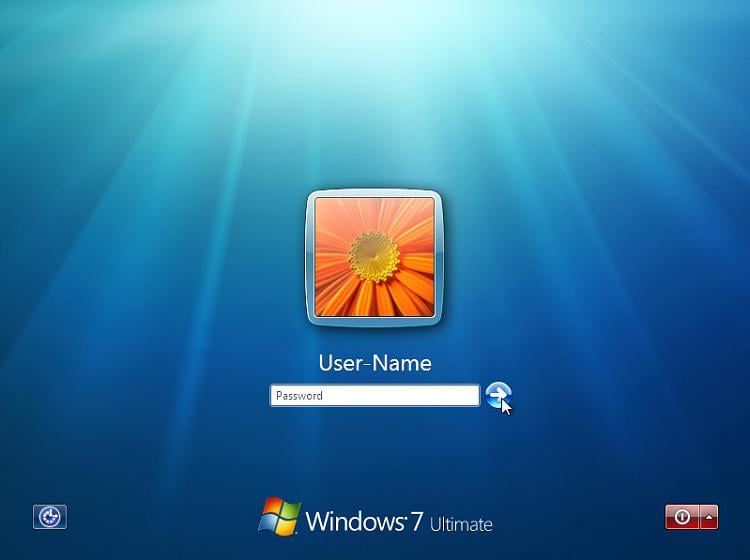
EXAMPLE: Log On Screen
NOTE: With Automatic Log On, you will not see this anymore. Windows 7 will boot into the desktop of the selected user account instead.
Here's How:
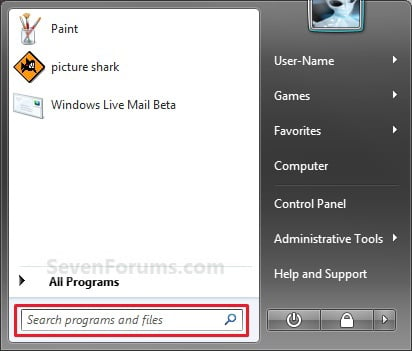
1. Open the Start Menu.
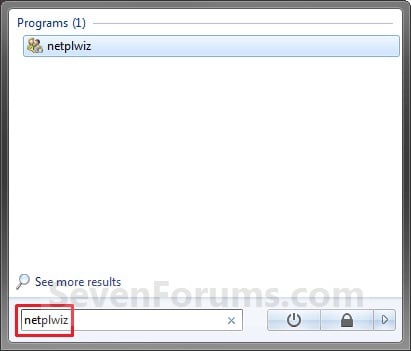
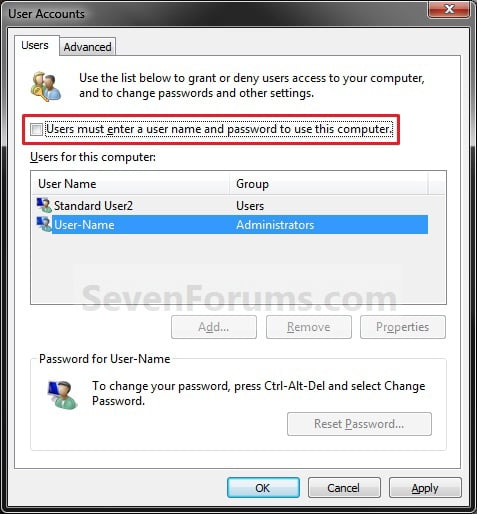
2. In the search line, type netplwiz and press Enter. (See screenshots below)
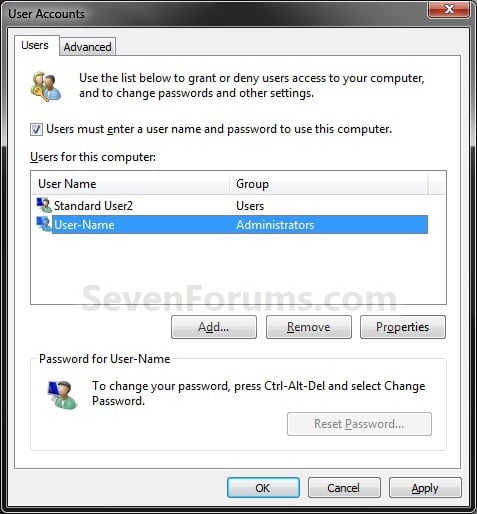
3. To Turn On Automatic Log On for a User Account
A) Check the Users must enter a user name and password to use this computerbox. (See screenshot below)4. To Turn Off Automatic Log On
B) Click on the user account name, that you want to have automatically log on at startup, to highlight it. (See screenshot above)
C) Uncheck the Users must enter a user name and password to use thiscomputer box. (See screenshot below)
D) Click on OK. (See screenshot above)
E) Go to step 6.
A) Check the Users must enter a user name and password to use this computerbox. (See screenshot below step 3A)5. To Change the User Account to Automatically Log On to
B) Click on OK. (See screenshot below step 3A)
C) Your done.
NOTE: For this step, you would have already had a user account selected to log on to automatically in step 3.
A) Check the Users must enter a user name and password to use this computerbox, and click on the Apply button. (See screenshot below step 3A)6. Enter the User Account Password
B) Select the other user account name, that you want to have automatically log on at startup instead, to highlight it.
C) Uncheck the Users must enter a user name and password to use thiscomputer box. (See screenshot below step 3C)
D) Click on OK. (See screenshot below step 3C)
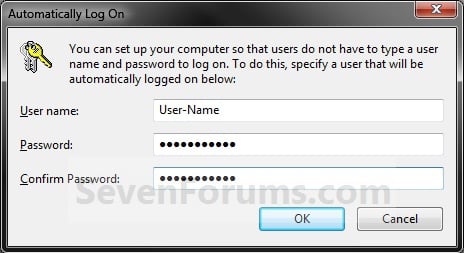
A) In the Password field, enter the selected user account's password. (See screenshot below)
NOTE: If the user account does not have a password, then leave this field empty. See the WARNING at the top of the tutorial.
B) In the Confirm Password field, enter the selected user account's password again to confirm that it is the same as in step 6A above.
C) Click on OK.
